I’m Dreaming of a Liberty Christmas – Liberty Baubles Tutorial
I really am dreaming of a Liberty Christmas this year. I absolutely love the festive season and can’t wait to cover my home in Liberty fabrics through one craft project or another. I’ve got several Liberty Christmas craft projects lined up to share with you over the next few weeks. I thought I would start with the Liberty Christmas baubles project so you can start with decorating your tree.
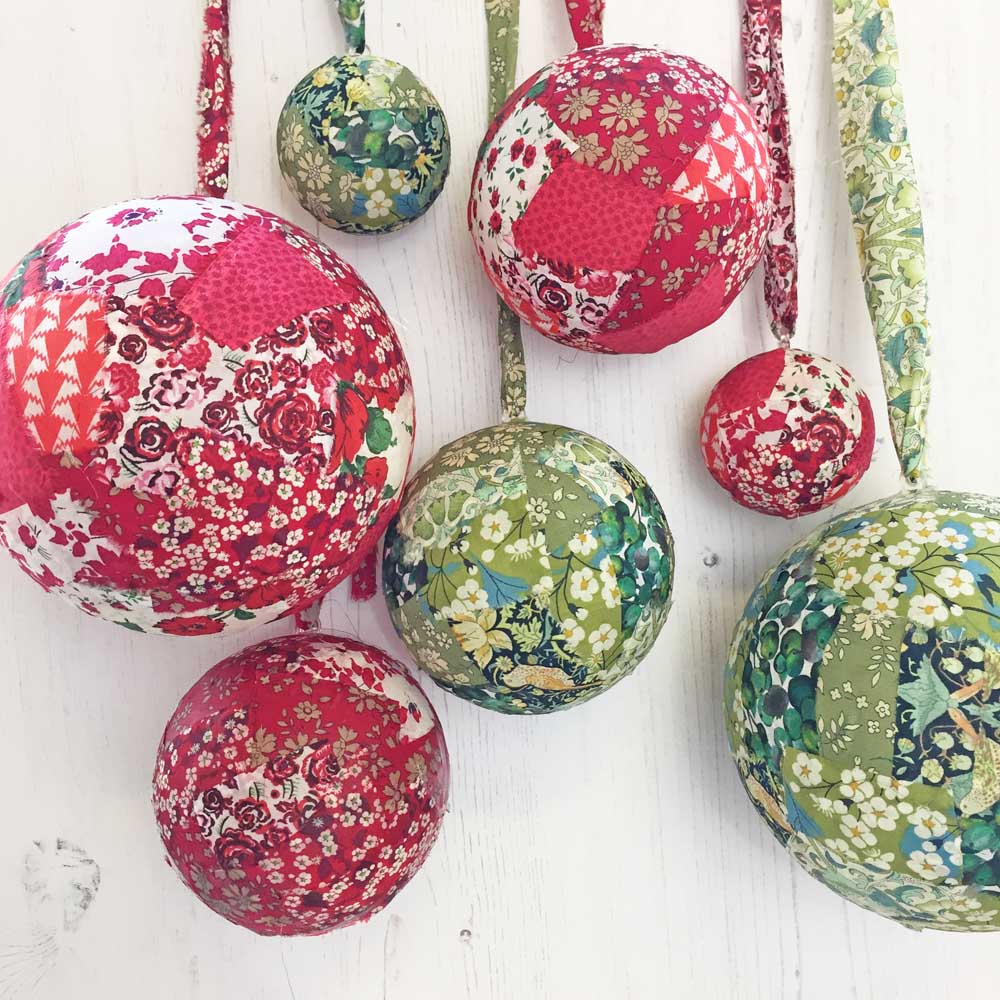
I’ve made versions of these baubles before, but they are so popular that I’ve made fresh ones this year. I’ve gone even bigger this year and I’ve also filmed a video of how to make these colourful decorations. They are super easy to make and are a great project to make with your kids or grandchildren.
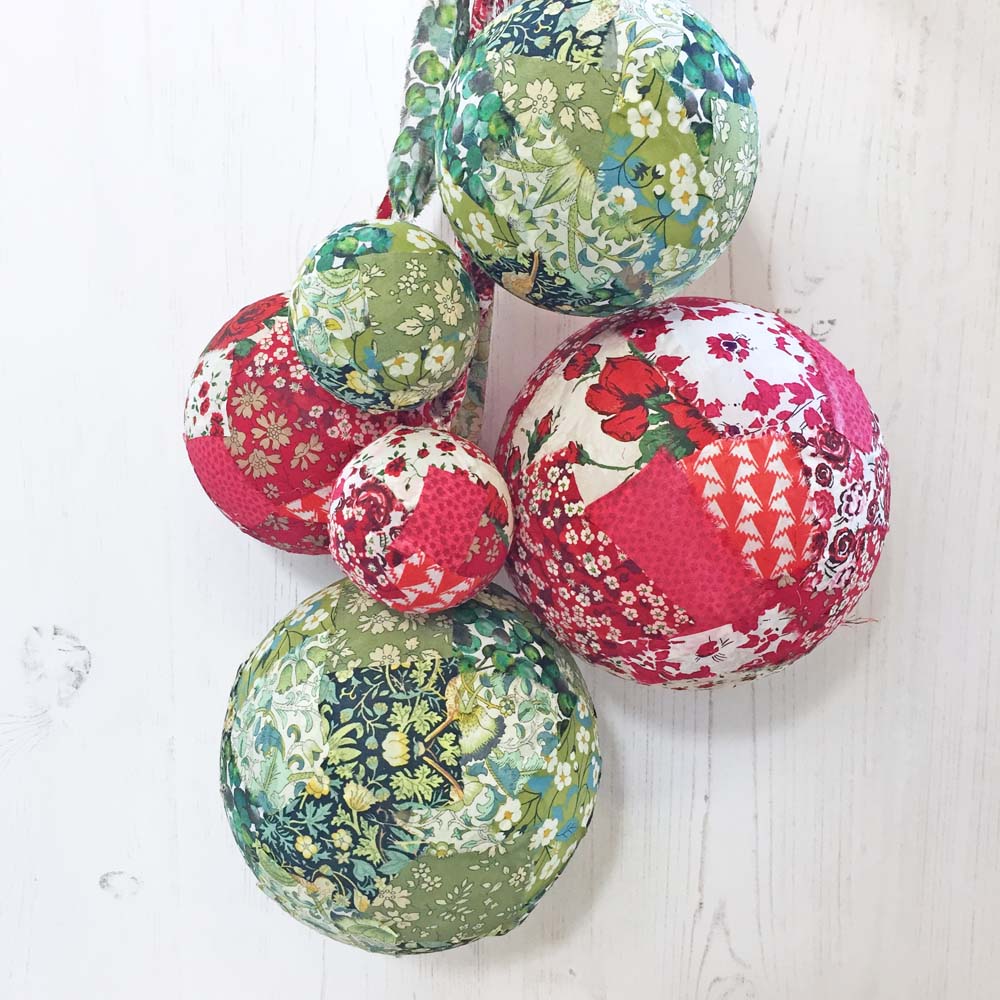
The end result is so effective and will brighten any Christmas tree. They also look great hanging in bunches from the ceiling in any room. The tutorial is below.
The Tutorial
Here’s a reminder of how to make your Liberty Christmas Baubles:
Step 1: Get hold of old baubles (by delving into your storage space!) or buy new ones from any crafting shop (I’ve used plastic ones that come in two halves which fit together easily), buy some PVA glue and get some Liberty scraps here

Step 2: Cut the fabric scraps into small pieces (the right size depends on the size of your bauble) – random shapes is fine. Spread glue onto the bauble.

Step 3: Glue the cut pieces of fabric onto the bauble making sure you use lots of evenly spread glue. It’s fine to cover over the top of the fabric with glue as it dries clear. Cover the whole bauble with the different fabrics. You can either choose to use one colour per bauble such as red or green or, alternatively you can mix the colours together. If you have a particular Christmas colour scheme you can make the baubles to match.


Step 4: Let them dry overnight and then use Liberty strips of fabric to hang.
Done – so easy and fun!

Happy Christmas crafting x


