Liberty Patchwork Tote Bag – Made From ‘The Artist’ Collection
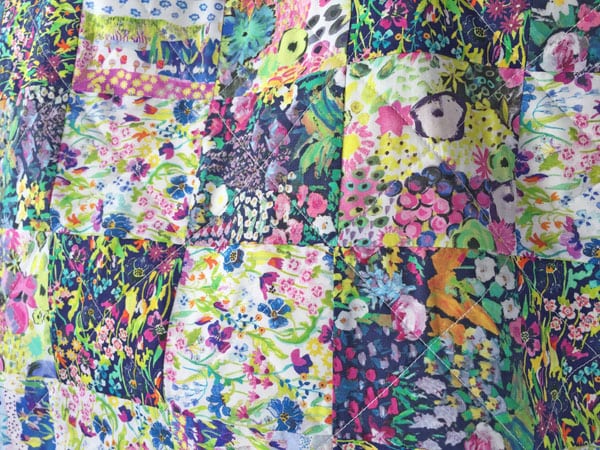
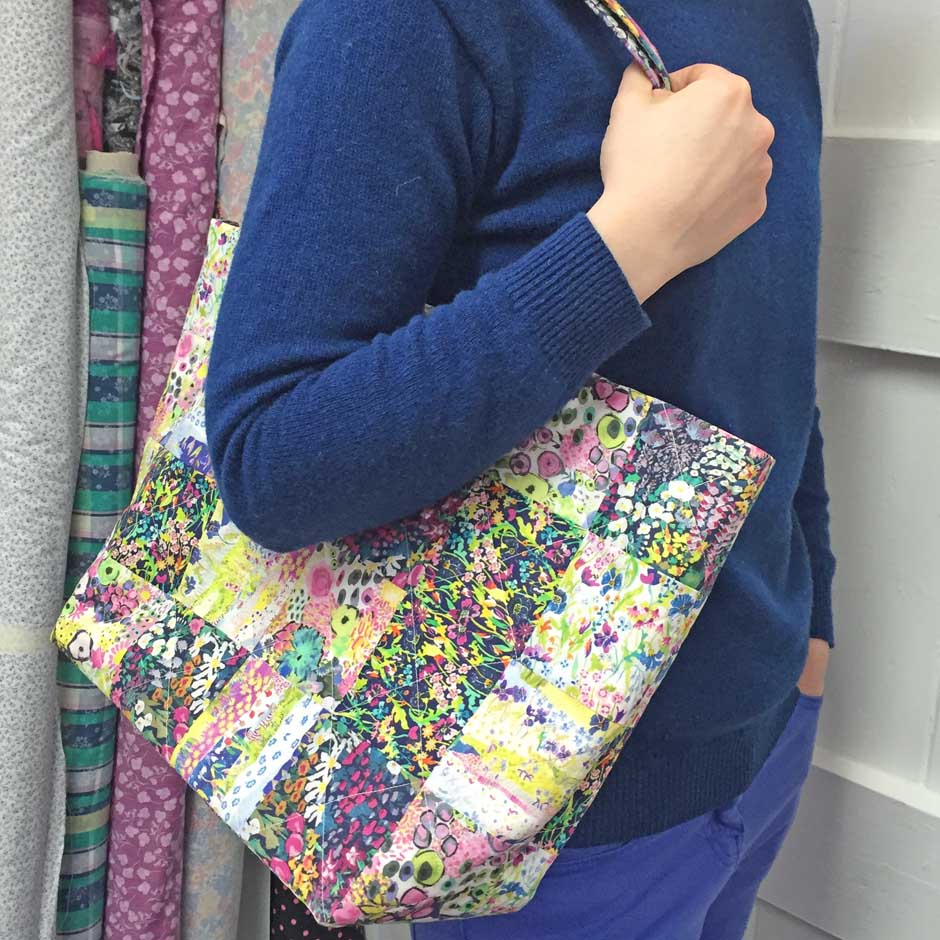
I’ve made a Liberty Patchwork Tote Bag (my ‘Katherine Bag‘) in some of the really gorgeous fabrics from the new Spring / Summer 2016 collection – I’m so pleased with the finished bag and think it looks really fab! Hope you like it too and that it inspires you to make something beautiful. It’s a great everyday bag – the beautiful colours and patchwork pattern brightens up even the coldest of winter days.
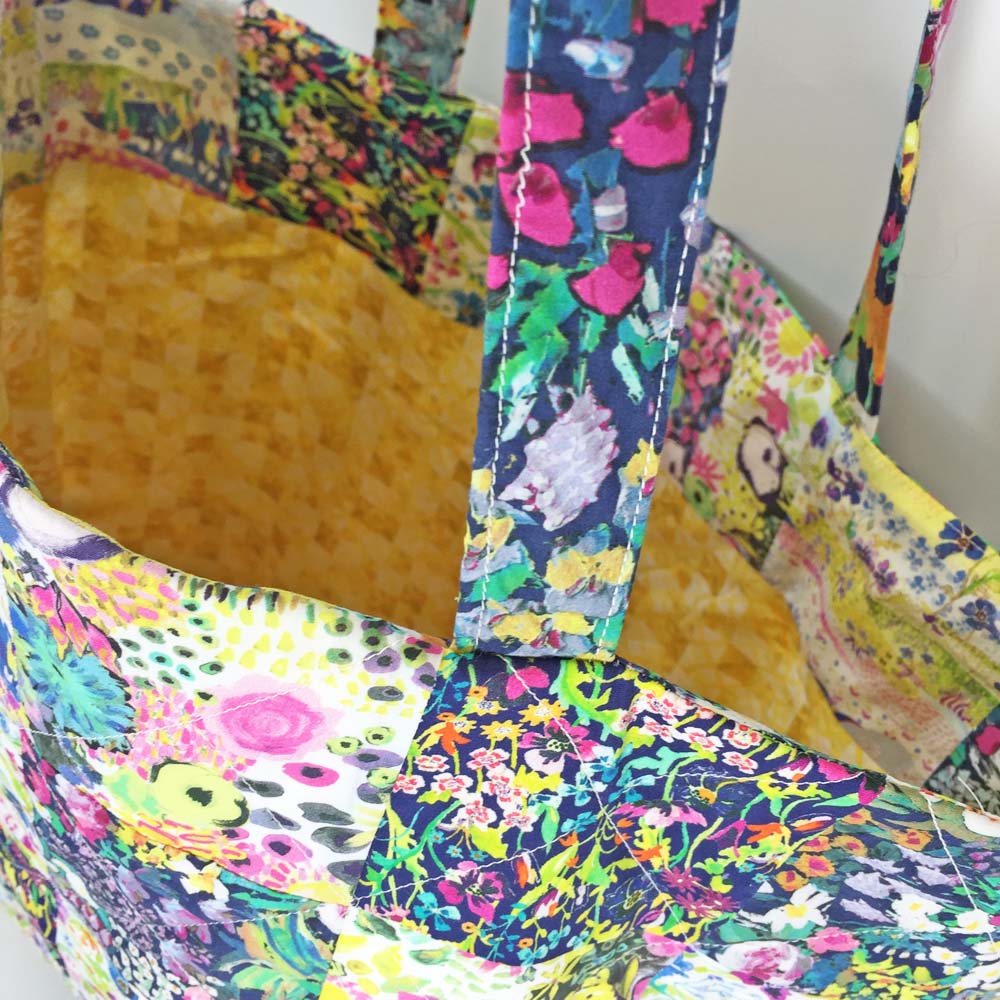
I’ve used my favourite florals from the new Liberty Spring / Summer 2016 collection which is called ‘The Artist’. They create a vibrant splash of summer colour which is perfect for this cute summer bag. I’ve lined it with bright yellows from the collection too – it’s a really fun design and shows these new collection fabrics beautifully.
I love this pattern! I designed it to be worn in two different ways which makes it really versatile and its got a handy pocket inside which is so useful. The bag comes with easy to follow, fully illustrated instructions which take you through every step from how to put the patchwork together, through quilting, to sewing the bag together. There is also a lovely detail of a row of patchwork inside the top of the bag.
Bag Finished Size: top width: 18″, bottom width: 12″ and depth 6″
What you will need to make the Liberty Patchwork Tote Bag:
Exterior Fabric: you can buy the patchwork fabric to make the Katherine Bag here (lining fabric not included)
Fabrics used in my design here are: Small Painters Meadow B, Summer Posy C, Summer Posy Small Artist’s Bloom A and Posy Landscape C
Lining: Potter’s Quilt C Yellow, Paper Garden D Yellow (you will need to buy this separately) or any lightweight or quilting cotton – 1/2 yard or 0.5 metre.
Wadding: any quilt wadding but I use Quilters Dream 100% cotton – minimum size 16″ x 38″
Bag Base: heavy weight interfacing (I use Vilene S80) or plastic needlepoint canvas size 12.5″ x 36″
Bag Handles: 44″ long of 1″ wide canvas webbing for handles
You will also need: a sewing machine or needle and thread, matching thread and pins.
Enjoy sewing your bag!


